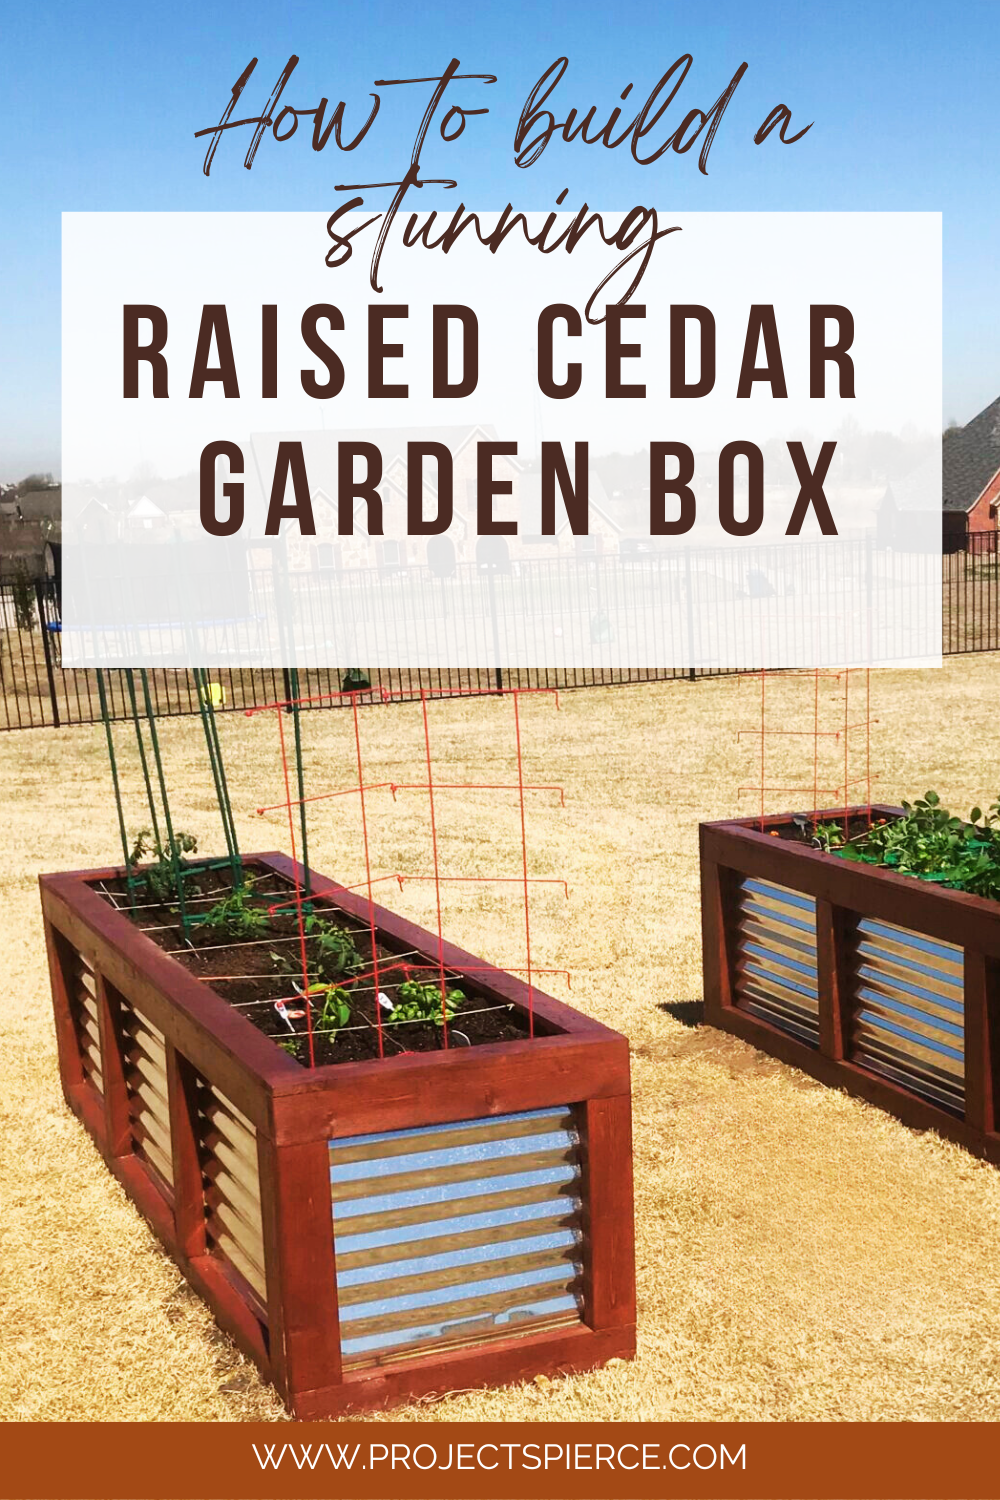
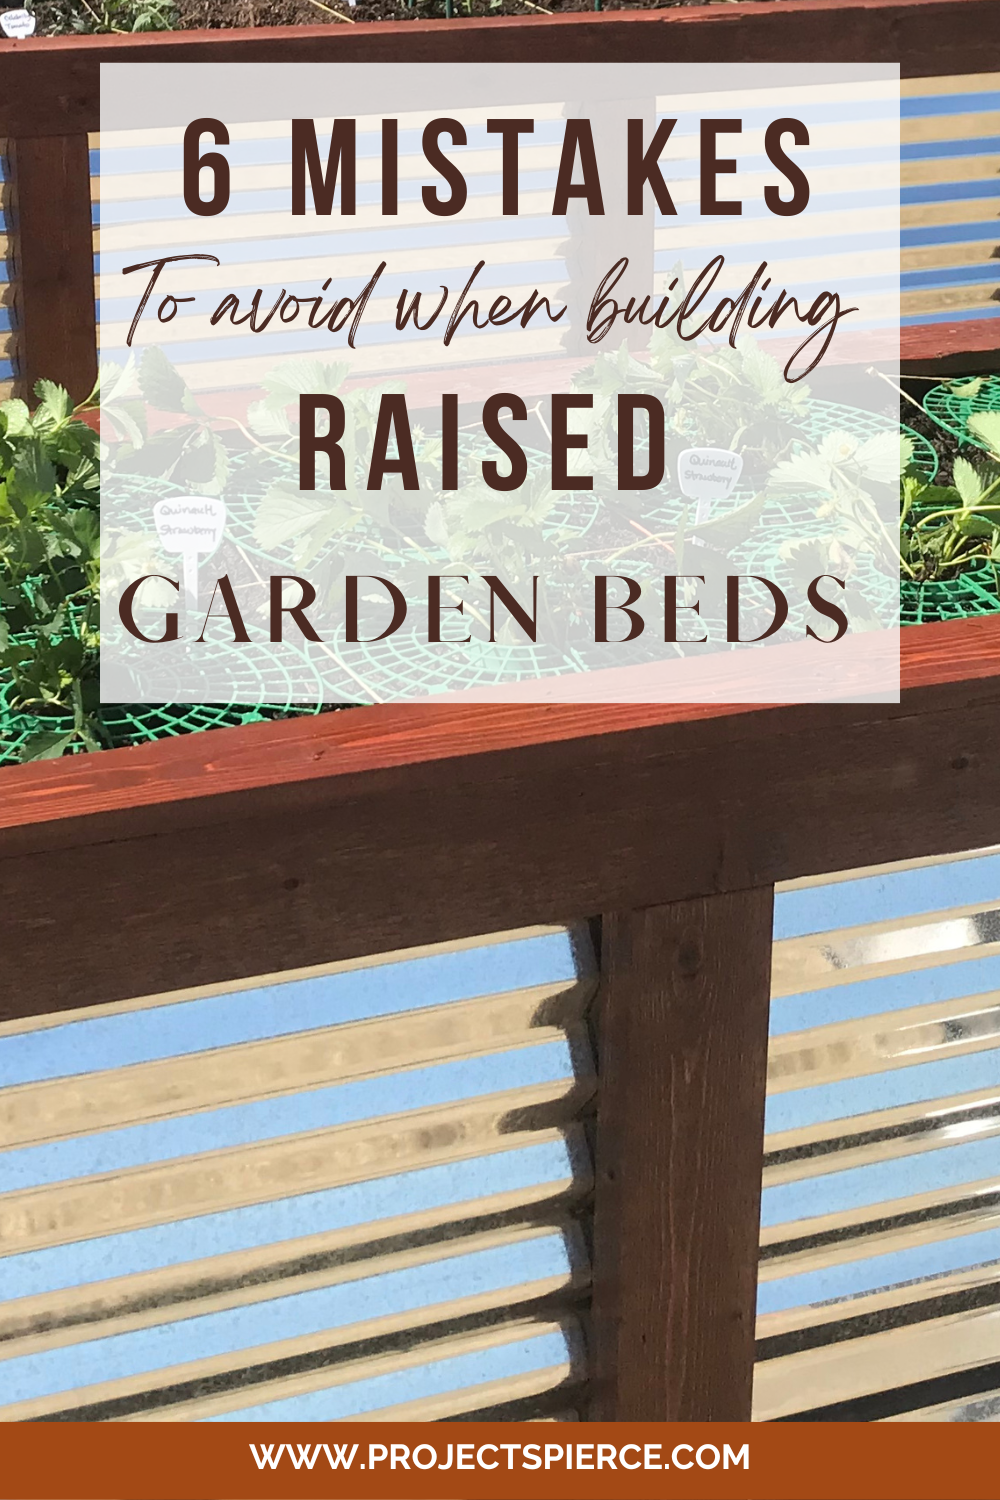
How to build your own raised garden box.

We have usually had a garden every year since we have been married. It is fun to see things grow. After a few poor attempts we came across “Square Foot Gardening”, and this has always been one of our favorite ways to plant a garden since. This box gives the same 16 squares that a normal 4×4 grid would at 2×8.
There are a few considerations when you want to set aside an area for a garden.
- Is the quality of the soil good?
- How much shade and light does the area get?
- How are you going to get water to the area?
- What amount of time do you want to devote to tending the garden?
Building a raised garden box
We used Cedar 2x4x8 to build this box four times. We wanted to see how well it did and held together after a year. Happily, it did very well and saved our backs a lot of soreness from bending over. We love our raised garden boxes!
To start, use a chop saw to cut the wood to the desired lengths. See the cutting list below. We also added pocket screw holes. This isn’t necessary, but we liked the idea of a totally flat surface for the tin (corrugated metal) to set up against. It was us being “booshie” mostly, but really they are just going in the garden.

Once cutting is complete we connected the pieces together with 2 inch wood screws to build the four sides of the box. You will want to attached the face to the ends so that the tin sheets would fit in the two long sides without cutting them.
Tip to build the raised box!!
When attaching the end sides to the long sides of your raised garden box, use plenty of finish screws to secure them together. We did every four inches as the boxes we built in the first year bowed a bit. We had to use bar clamps to pull them together better and add more screws once the dirt was in them for a full year.


People have a lot of preferences when it comes to what material to can be used when building a garden box. For us, since the wood does not come in contact with the soil we are okay with adding a wood stain and polyurethane coat to give the cedar extra protection from the hot Texas sun.

Or you can stain before you assemble.

Add the tin. Turn the box on its side. Slide the 2×8 sheet of tin into the long side of the box. Secure with metal to wood screws. Repeat for the other long side.

For the two shorter sides, tin snips works best to make the two ends cut to length. Tried it the first time with a cutting tool. Horrible experience, we don’t recommend it. You will want to go about 1″ shorter in length than the inside of the box because the wavy metal takes up some room.
Then secure with metal to wood screws the tin to the two short sides. We went about every 18″ along the top, bottom, sides, and posts with screws.
Tip for the garden box!!
We found that adding the 1/2′ cedar caps on the top of the two short sides of the box, BEFORE we inserted any metal made for a great guide to match the tin up too.

Finally you will want two people to move the box into its permanent location. We lined with landscaping fabric and filled with wheel barrow trips using a mix of sand, soil, and some horse manure (be careful, horse stays “hotter” and can burn plants than cow).
Our first year we went with Strawberries in one planter and tomatoes in the other.

Tip!!
Building two at the same time reduces the tin sheets you need by one. You will only use 1/2 of the third sheet in making one box. So only five sheets are need for two boxes instead of six. Also you will only need one box of metal to wood screws for two boxes.
Materials List:
9 – 2″x4″x8′ Cedar boards
3 – 2’x8′ Tin
3 – 1/2″x4″x8′ Cedar boards (cap)
Box of 100 Wood screws
Box of 50 Metal to Wood screws
Cut List:
12 – 2″x4″x19”
4 – 2″x4″x27 1/2”
4- 2″x4″x72″ (don’t cut)


